
Are you ready to disrupt with AI? Join our Hackathon today! Click to Register
By WebOsmotic Team | Published on November 11, 2024
Summarize Article

Table of Contents
ToggleIn case you have plans of creating an app for iOS devices, it is advisable to know the iOS app development process in its entirety, so you can actualize your goals. Each development stage from the very beginning to the App submission to the Store is very important. In this article, we provide a detailed description of each step to make it easier for you to embark on the learning journey of iOS app development.
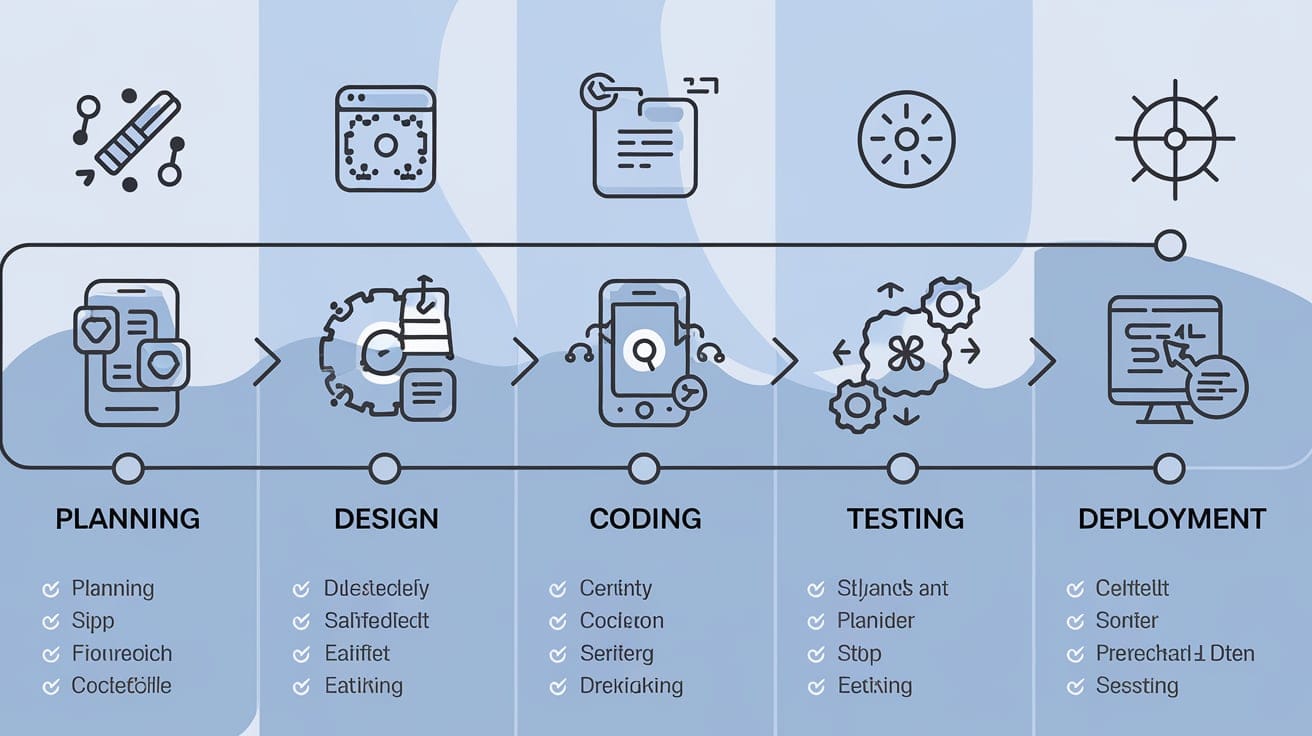
Create an app design, strategize, and begin coding. This step includes:
As such, a well-developed concept is important as it provides a basis upon which the entire iOS development process will operate.
After some time, the definition of the concept is clear and ready for iOS app development requirements. They consist of:
Understanding these helps in directing the design and development process where they speak to the objectives of the project.
The process of developing any application will not be complete without considering the importance of user experience (UX) and user interface (UI) design. Good design improves the usability of the app and focuses on keeping the users glued to the app.
An application with a proper design is easy to navigate and is consistently produced allowing users to learn the app quickly and appreciate its functionality.
This is the stage when designs get translated into a working application. This stage consists of the following:
Break down the iOS app development prerequisites into smaller steps within the phases and finish up each step plus identify defects for available features.
Testing is an important phase in the process of developing iOS applications. It makes sure that your app functions correctly and offers a satisfactory experience to the users. Testing is divided into the following types:
TestFlight is a beta-testing tool developed by Apple that allows customers to offer you feedback before you release your app.
After conducting all tests, getting appropriate feedback, and making revisions if necessary, you need to go ahead and promote your application within Apple’s App Store. Here’s what to prepare:
Once all things are set, you can proceed to publish your app in the App Store. Apple’s review process may vary from a couple of days to a more extended period depending on the complexity of the app and the current review turnaround.
It is essential to solicit user impressions and keep statistics on how well the application has been received to make adjustments. Maintenance is quintessential for encouraging users to continue using the app and for ensuring that it works well:
3. Compatibility Updates: Do not forget that next year, someone will release a new iPhone and a new version of iOS.
The process of developing an iOS app starts when planning the app and ends when the app is updated after the launch of the product. By performing every activity in this process in order, one can create a good, intuitive application that is up to par with Apple’s expectations. If you are a beginner in app development or have an app that you want to improve, it’s crucial to know and appreciate these stages to successfully develop a quality app for the App Store.
Unlock exclusive insights and expert knowledge delivered straight to your inbox