How To Merge Layers in AI Without Losing Quality?
66 Views
Summarize Article

If you work in Adobe Illustrator, merging layers feels like a simple cleanup job. Then you do it once, export and the file. However, you notice something looks off. Text turns soft or shadows look different.
This guide shows how to merge layers in AI in a way that keeps vectors sharp and keeps text editable to avoid surprises at export time.
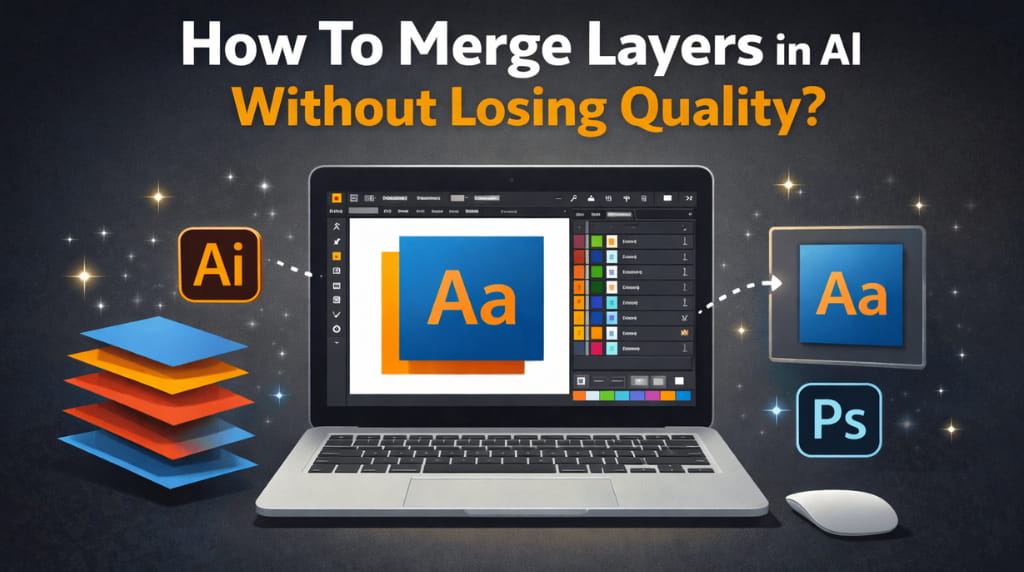
Also, we will also cover how to merge AI layers in Photoshop when you need a combined asset for mockups or social posts.
In design workflows, AI means Adobe Illustrator and the .ai file type. It does not mean artificial intelligence in this context.
So when people search “merge layers in AI,” they mean merging Illustrator layers and sublayers while keeping the artwork clean.
Illustrator artwork stays high quality as long as it stays vector. The goal is not “merge layers carefully.” The goal is “merge layers while staying vector as long as possible.”
Quality drops when one of these happens:
If you are exporting for the web, mastering CSS modern web design helps you keep sharp edges and clean scaling once the asset hits a page.
Save a new version like project-name_layers-merged_v2.ai. This gives you a clean rollback if you flatten something you did not mean to flatten.
Go to View and then Outline. This lets you confirm what is vector and what is already raster. Any placed images will still be there, but you will spot messy paths and hidden objects quickly.
In Illustrator, you might want any one of these outcomes:
Illustrator does not have a single “merge layers” button like some apps. The safest way is manual structure cleanup. Adobe’s official Illustrator documentation explains how layers and sublayers behave during grouping, collecting, and structure cleanup.
Do this:
If your file has objects scattered across many sublayers, this is a clean move:
Messy sublayers can cause export confusion later, especially when you export SVG or import into other tools.
A simple cleanup flow:
Sometimes “merge” means turning several shapes into one. This is common for icons, logos, cut paths, etc.
Use it when shapes overlap and you want a single combined shape.
Use it when you want one outline shape.
This is also vector-safe, but watch out with strokes. Sometimes strokes expand in a way you did not expect, so check your appearance panel after.
Outlining text can be fine for final logo delivery, but it removes edit ability. If you do outline text, do it as a final step and keep a live-text version saved as a separate file.
Effects like blurs, shadows, and glows are where people lose quality.
Live effects stay vector-friendly in Illustrator, but they can render differently depending on export settings.
If you must lock the look:
This does not “improve” vector quality. It prevents low-resolution effect rendering.
Flatten Transparency can change the structure of the file, split shapes, and convert some areas into raster. Use it only if a printer or a vendor requires it.
If you want your shadows and text to stay readable after export, great web typography shows the practical rules that reduce “soft text” issues on screens.
Sometimes you need the Illustrator artwork inside a Photoshop design, like a banner, ad creative, or product mockup. This is where people accidentally destroy sharpness.
In Photoshop:
Now you can scale up and down with minimal quality loss because Photoshop keeps a reference to the vector content inside the Smart Object.
If you need one single layer in Photoshop:
If your final use is web or social:
Scaling down usually looks cleaner than scaling up later.
Merging layers in Illustrator is safe when you treat it as organisation, not flattening. Move objects into one layer, keep vectors live, and only lock things down at the last step when delivery requires it. If you send the art into Photoshop, place it as a Smart Object first, then merge only after sizing is final. If you need help, hire expert UI/UX design services from Webosmotic.
Also, If you need a consistent design system so files stay clean across tools, our digital product design process guide explains how teams standardise assets and handoffs.
Create one target layer, then move selected objects into it using the Layers panel. Delete empty layers after confirming they are empty. This keeps everything editable and vector.
The blur usually comes from rasterisation or low export settings, not the merge itself. Check if effects were rasterised or if you exported a low-resolution PNG.
Place the .ai file as a Smart Object first. Do your resizing and layout work, then rasterise and merge only if you truly need a single pixel layer.
Yes. Use Shape Builder or Pathfinder Unite. Both keep the output vector, but double-check strokes and appearance after combining.
Not for normal working files. Keep text live for editing, then outline only for final delivery if the client, printer, or brand kit requires it.


